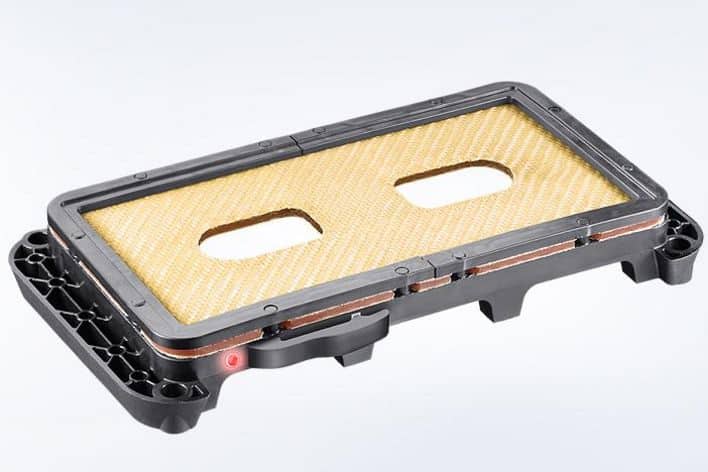
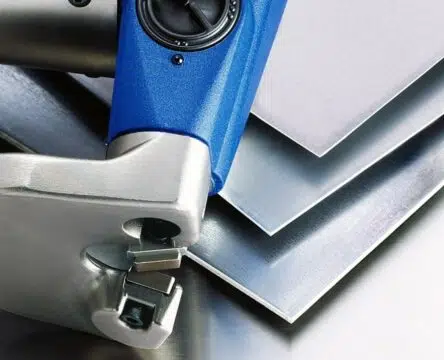
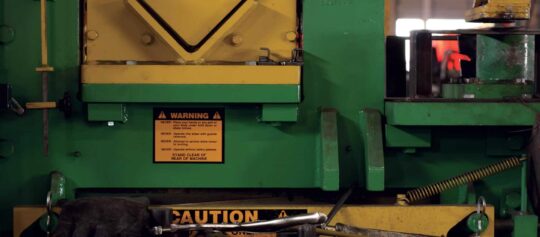
A challenge for all fabricators using laser cutting systems is ensuring the quality of the cut and the processing of material. The technology and power of laser tables have continued to increase and they all depend on proper maintenance. Laser Slats have been designed to provide minimal surface area when processing sheet metal however laser slag will continue to build up over time. A cost effective solution to remove laser slag for quick maintenance is needed and the TruTool TSC 100 Slat Cleaner is the perfect tool for the job.
FABTECH SOLUTIONS is also offering Repair and Service for all TRUMPF TruTool.
LASER SLAG REMOVAL WITH THE TRUTOOL TSC 100
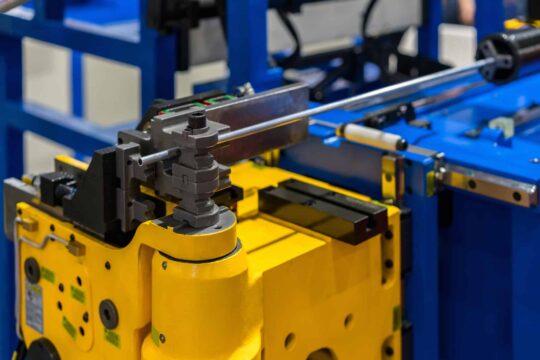
Manually removing laser slag is a time consuming process and can also damage or unnecessarily wear the laser slats. In many cases, powerful roughing and finishing rollers were used to break up the slag however these methods are time consuming and cause excess wear. TRUMPF’s TruTool TSC 100 is an effective one man solution that will remove slag and extend the life of your laser table. The ergonomic design allows for easy one man usage and a standard pallet slat size of 5×10 can be cleaned in about 30 minutes. The two vertical rows of tools are equipped with teeth that press onto the slat and move forward scraping the slag off of each slat and crevice. Due to the design the TSC 100 is propelled forward as it is used.
TRUMPF included an intelligent monitoring system that ensures safe and reliable work procedures. No more wasted time manually checking the seal condition and no more concern about damaging the slat cleaner by overusing the seal mechanism. The LED Display uses a quick, continuous flash to alert the operator that the seal requires maintenance. This approach saves time and prevents possible damage to the tool, which is possible then the seals are not checked and replaced at the specified maintenance intervals.
FABTECH SOLUTIONS is offering FREE SHIPPING on all TRUMPF TruTools, the TSC 100 Slat Cleaner can be in your shop this week!
Seal Maintenance on the TSC 100 is simple and easy, it can be performed by almost any staff and only takes a couple minutes. The integrated LED alerts the operator when maintenance is required, ensuring that the TSC 100 maintenance cycles are being kept. This has the added bonus of extending the life of your fabrication equipment. For convenience FABTECH SOLUTIONS has included a video of the process and well as step by step instructions below.
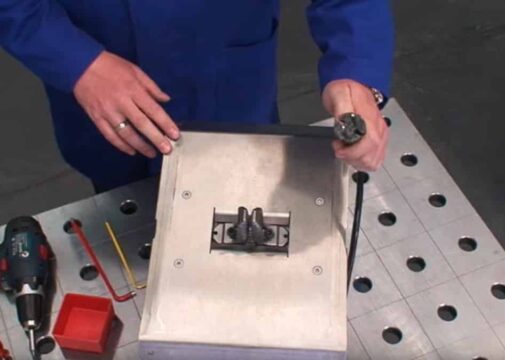
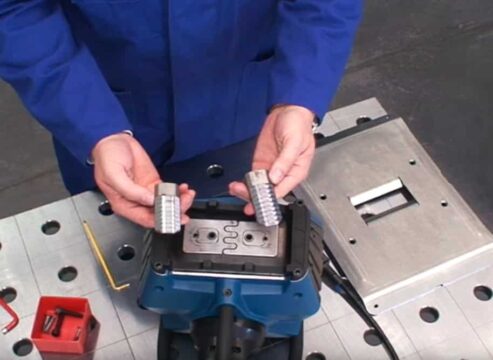
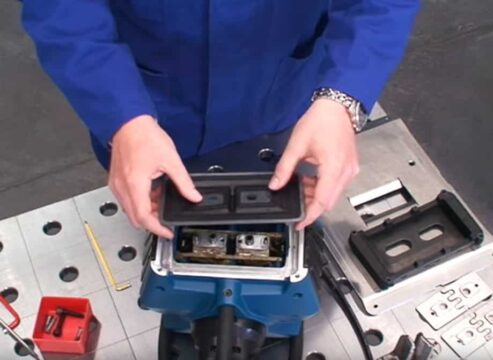
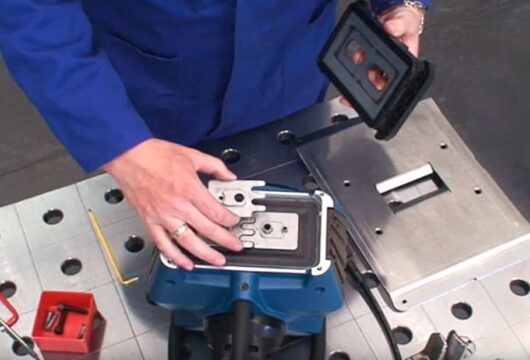
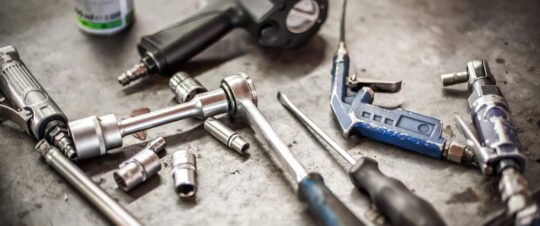
Remove the Outer Sliding discs to expose the Seal. Most of the time the sliding disc can be removed by hand, there are times when a screw driver might be needed. Be careful not to damage the Seal or any other part of the machine.
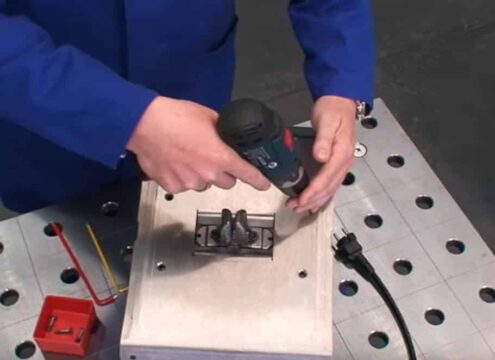
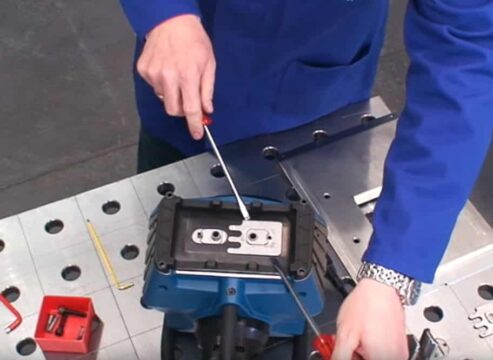
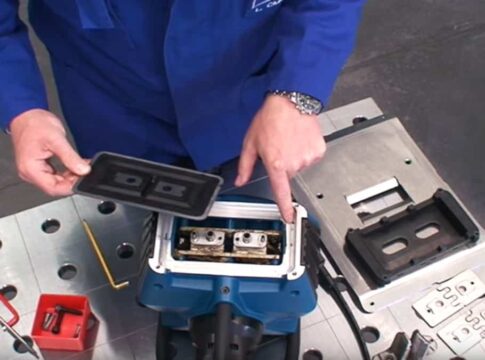
Step 6
With the Outer Seal exposed, remove it from the machine and visually inspect the part for holes or any other damage.
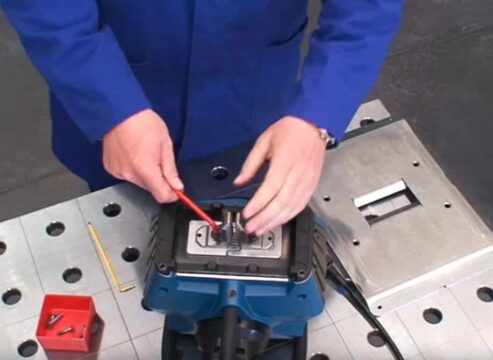
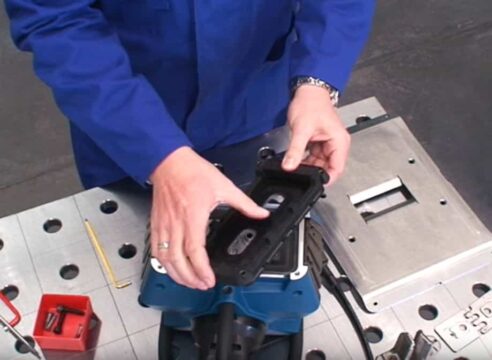
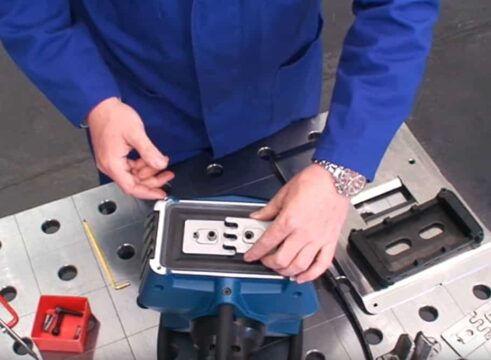
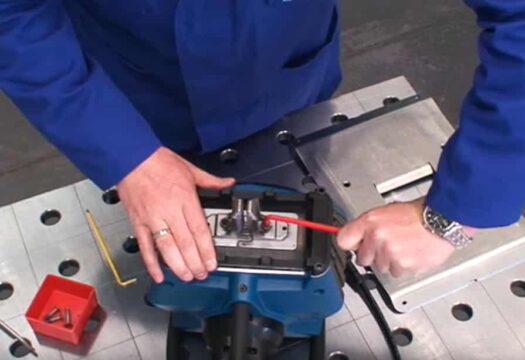
Remove the inner sliding discs one at a time, this will expose the Rubber Seal.
Step 8
Inspecting the Rubber Seal is quite important at this stage. If there is any damage on this seal it should be replaced immediately, this seal prevents the slag from entering the TSC 100 gear head which will significantly shorten the life of your machine.
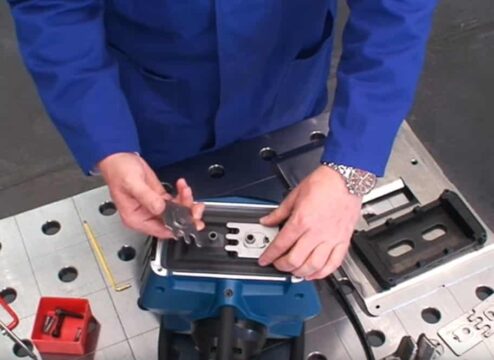
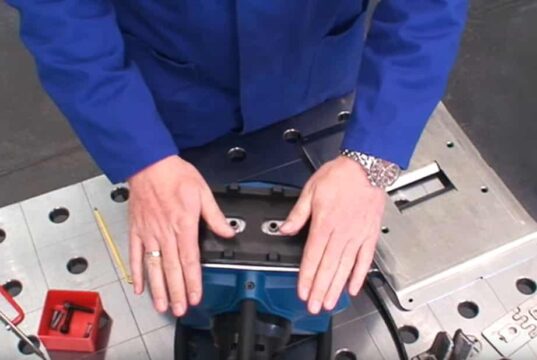
Step 9
Replace the Inner Seal making sure to seat the housing properly. Ensure you match the small pin on the housing of the machine with the notch on the Rubber Seal.
Step 10
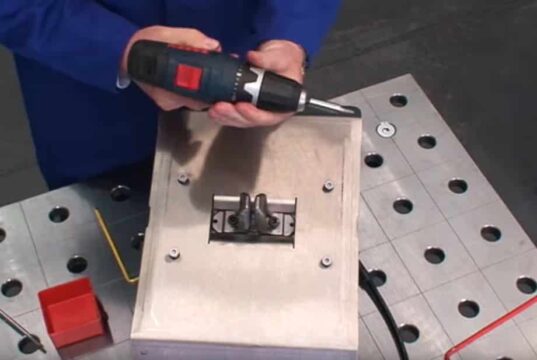
Next install the Inner Sliding Discs, taking care to put them back in the same order and direction as removed.
Step 11
Install the Outer Seal and it should fit snuggly against the machine body
Step 12
Now we are ready to install the Outer Sliding Discs, it is important that the Outer Sliding Discs match the direction that the Inner Sliding Discs were installed.
Step 13
With the Outer Sliding Discs facing the proper direction we can now attach the Cleaning Tools.
Step 14
Finally, attach the sliding plate and the four screws.